Selfhosting 101
The thought of hosting stuff in your bedroom has always been a "dream"* of mine, like as a kid maybe 3–4 years ago I would think about one day owning my own data center or something similar and providing/selling compute to people.
So today I'm writing this article to maybe the first steps of this process.
This article will be a mix of explaining why you would choose to self-host your own hardware and a guide on how to set up WireGuard VPN tunnelling to enable secure forwarding of traffic.
Firstly, when it comes to hosting your projects most people would instantly think of a cloud provider I mean I get it, it's convenient it's always up and someone else has to deal with the headache of networking all that infrastructure, and you are very much hands-off on that whole process.
Sometimes, however, you have spare hardware lying around, that one laptop that you leave on the table without putting to use. Maybe you have an old gen PC that you have outlived. Well, when you put your mind to it, all this hardware is usable and fixable if you have enough time and effort xD.
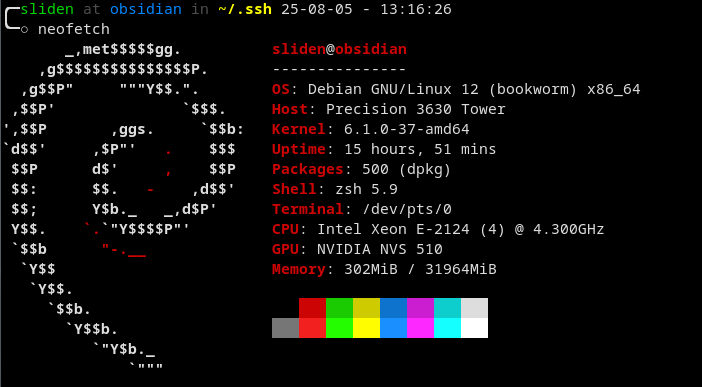
Like this AIO I got for 12 USD, just boot up Debian and boom now it's a perfectly usable machine that just lives quietly without any problems.
Although I assume most people would ask why would I go through all this hassle if I have to buy a cloud server with 2 IPv4 addresses to tunnel anyways, and that is a fair question but buying a low spec vps with 2 ips is like 6$ a month from ovh or if you're a cheapskate like me, you could even get it for as low as 2$ a month. However, how many services can you host with that? I guess the point here is, it's up to you to find the trade off that you are comfortable with.
Ultimately, what I'm trying to convey here is to just build stuff, play around, and you never know where you're going to get!
WireGuard tunnel setup
Key Terms:
- Host: VPS / Machine with the 2 public IPv4 addresses that you want all the traffic to get hit by.
- Client: Server on your home network.
Host setup
- Install WireGuard
curl -O https://raw.githubusercontent.com/angristan/wireguard-install/master/wireguard-install.sh
chmod +x wireguard-install.sh
./wireguard-install.sh
Just go through the default process.
- Copy the WireGuard client config to your client device
- Setup Iptables
iptables -t nat -A PREROUTING -d PublicIP -p tcp -j DNAT --to-dest 10.66.66.2
ps: the PublicIP here refers to the other ipv4 address that is assigned to the host
Only do this part when you have made sure that the tunnelling is working properly
- Install Persistent Iptables
sudo apt-get install iptables-persistent
sudo netfilter-persistent save
sudo netfilter-persistent reload
Client Setup
- Install Wire Guard & Supporting Packages
apt install resolvconf
apt-get install wireguard
- Setup systemctl to start on boot click me
- Copy the previous client config file from the host to your device
sudo nano /etc/wireguard/wg0.conf
- Restart wireguard
systemctl restart wg-quick@wg0
- Check if the connection is working
ping 10.66.66.1
service wg-quick@wg0 status
There you have it, your services should now be accessible through the secondary IPv4 address of your vps.
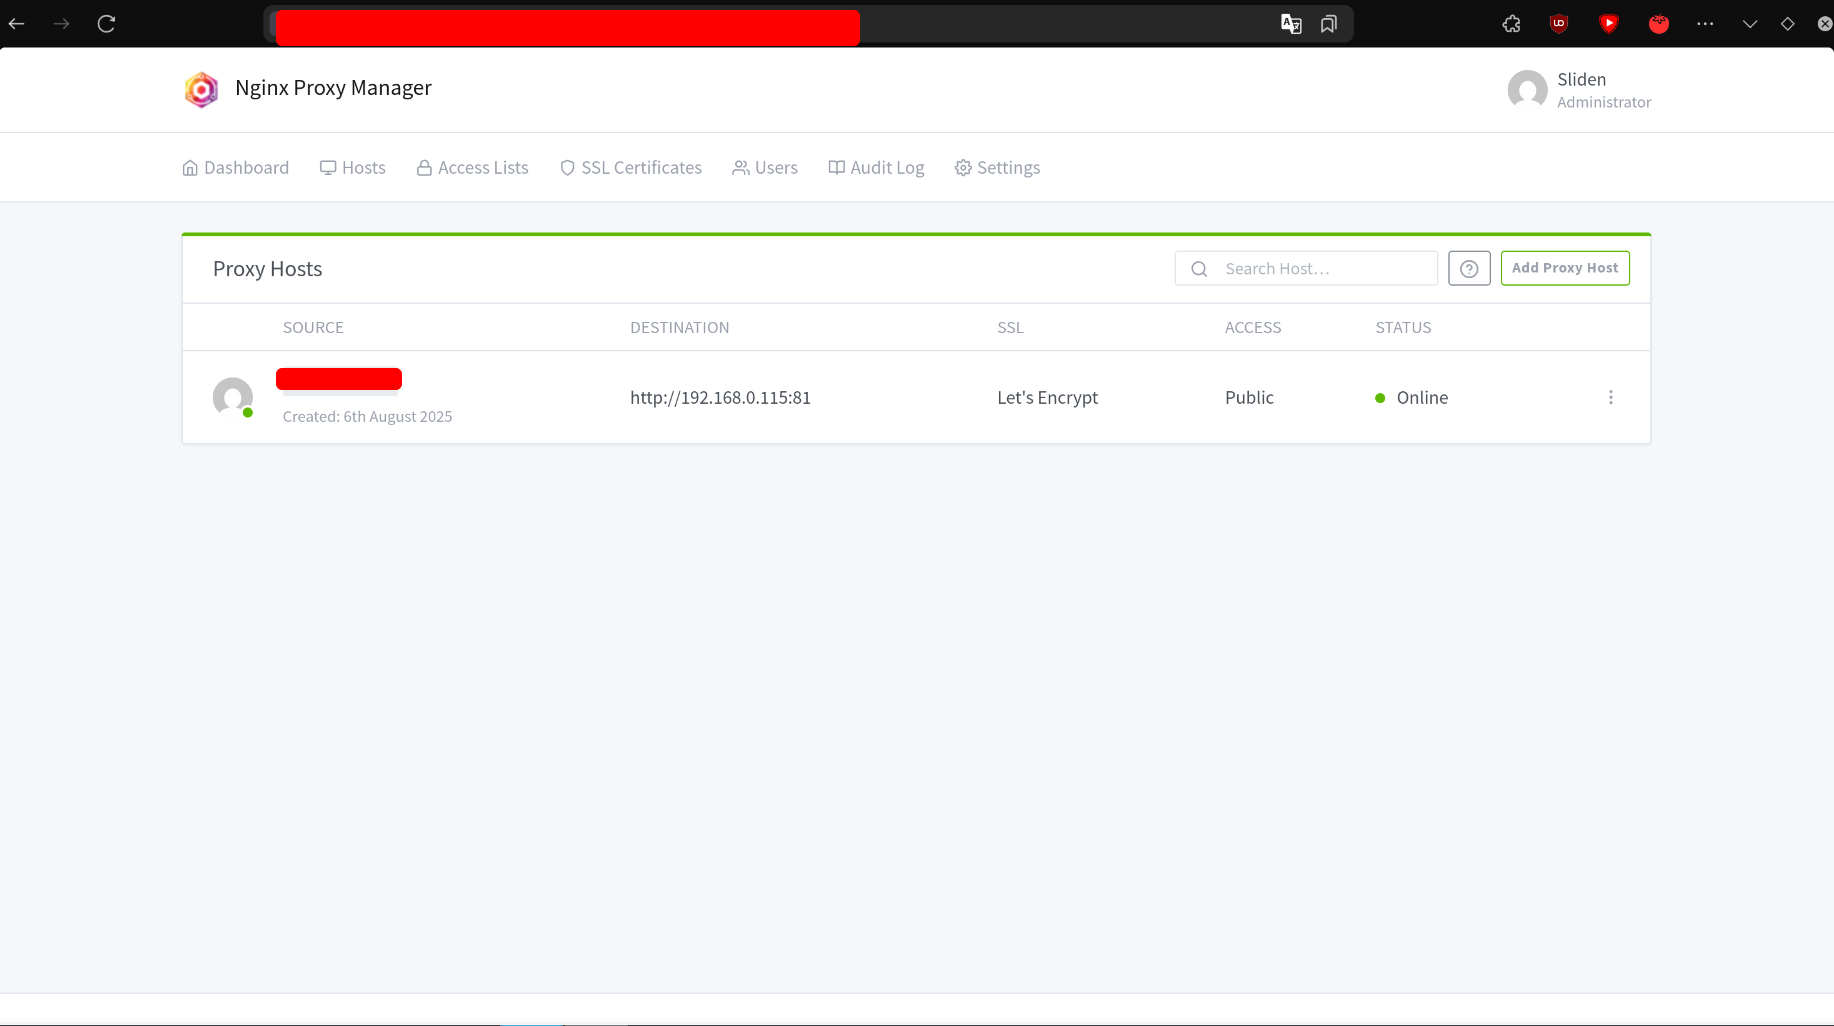
I recommend setting up Nginx Proxy Manager on your home server in order to be able to reverse proxy your services to domains but maybe that guide will come at a later date.
Happy Hosting!


