How to Connect a Domain with IP (Step by Step Guide)?
When you buy a domain name, the next step is to connect it to your server so people can visit your website using yourdomain.com. In this guide, we’ll walk through connecting a domain with Nginx and setting up HTTPS using Let’s Encrypt. There are 6 Steps like below:
- Point Your Domain to the Server
- Install Nginx
- Create Web Root for Your Domain
- Configure Nginx for Your Domain
- Install Free SSL (Let’s Encrypt)
- Test Your Website
For this guide, I used: Hosting Server: VPS from Duen Penh Data Center : https://dpdatacenter.com/en
Domain Service: GoDaddy : https://www.godaddy.com/ (You can use any VPS provider and domain registrar of your choice — the steps are the same.)
1. Point Your Domain to the Server
1.1. Login to your domain registrar (GoDaddy, Namecheap, Cloudflare, etc.).
1.2. Go to DNS settings.
1.3. Add an A record:
1.3.1. Host: @ (or yourdomain.com)
1.3.2. Value: Your server’s public IP address
1.3.3. TTL: Auto or 3600
1.4. (Optional: Add www as a CNAME pointing to yourdomain.com)
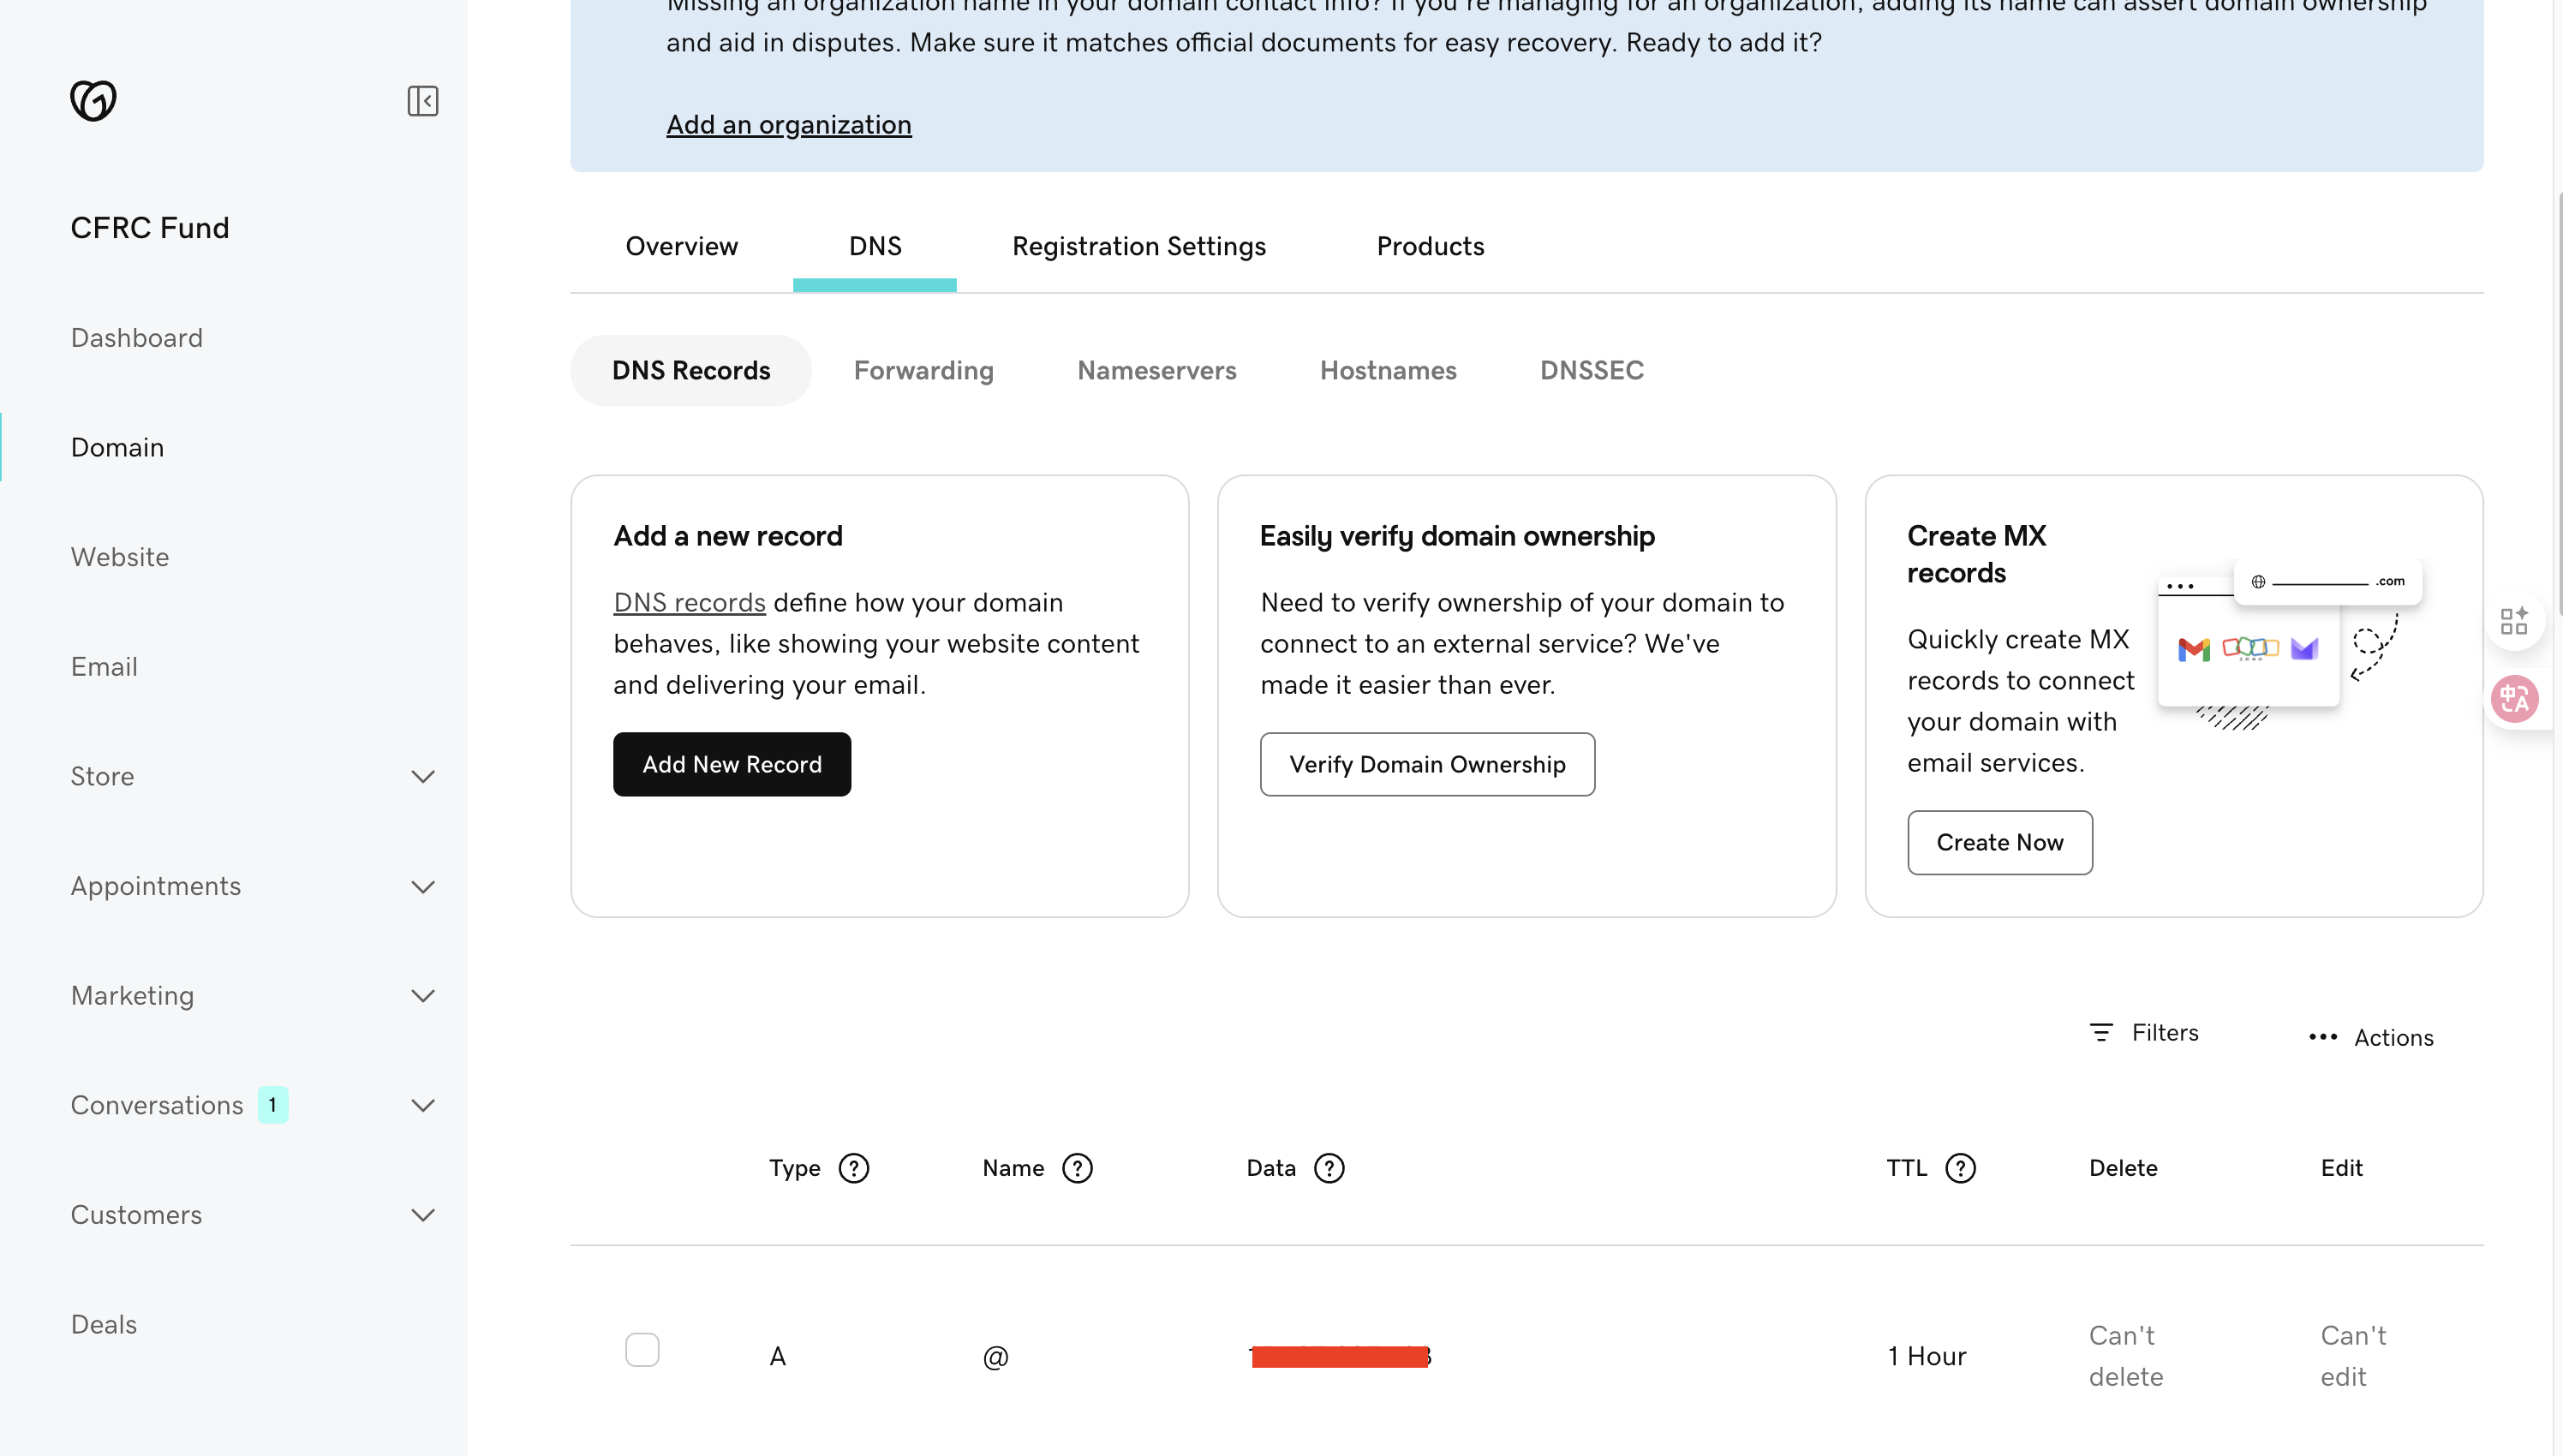
Example on GoDaddy > Type: A, Name: @, Data: our server public ip , TTL: Auto or 1 Hour
If you want to add a sub domain > Type: A, Name: yoursubdomain, Data: Your server public ip , TTL: Auto or 1 Hour
✅ Now your domain points to your server.
2. Install Nginx
If your sever not yet install nginx:
sudo apt update
sudo apt install nginx -y
Check status
systemctl status nginx
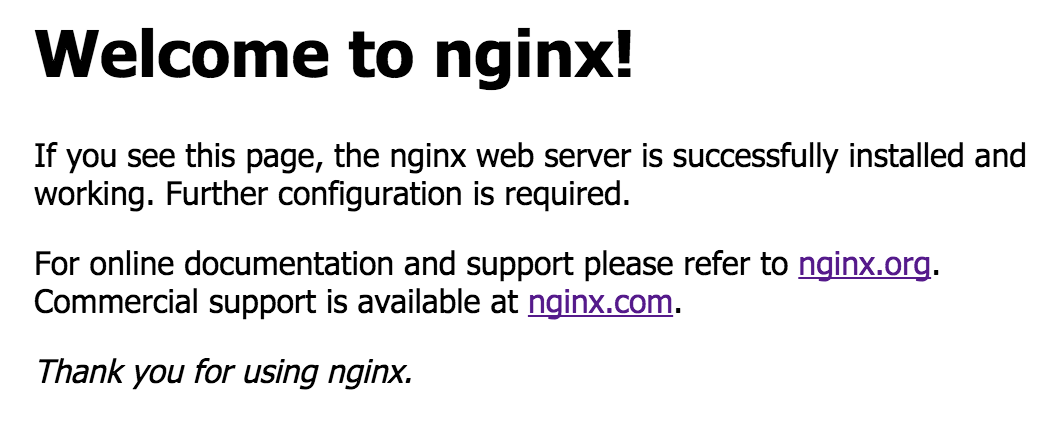
Open your server IP in the browser → you should see the Nginx welcome page.
3. Create Web Root for Your Domain
Create a directory
sudo mkdir -p /var/www/yourdomain.com
Create a html file
<html lang="en"> <head> <meta charset="UTF-8"> <meta name="viewport" content="width=device-width, initial-scale=1.0"> <title>Welcome to My Website</title> <style> body { font-family: Arial, sans-serif; text-align: center; background: #f4f4f9; color: #333; margin: 0; padding: 0; } header { background: #0073e6; color: #fff; padding: 2rem 1rem; } h1 { margin: 0; } main { padding: 2rem; } footer { margin-top: 3rem; padding: 1rem; background: #222; color: #aaa; } </style> </head> <body> <header> <h1>Welcome to My Website</h1> <p>Your Nginx server is working correctly 🎉</p> </header>sudo vim /var/www/yourdomain.com/index.html Example content:
<main>
<h2>Default Page</h2>
<p>If you see this page, your Nginx setup is successful.</p>
<p>Replace this file with your own content at:</p>
<code>/var/www/html/index.html</code>
</main>
<footer>
<p>© 2025 My Website</p>
</footer>
4. Configure Nginx for Your Domain
Create a new config file
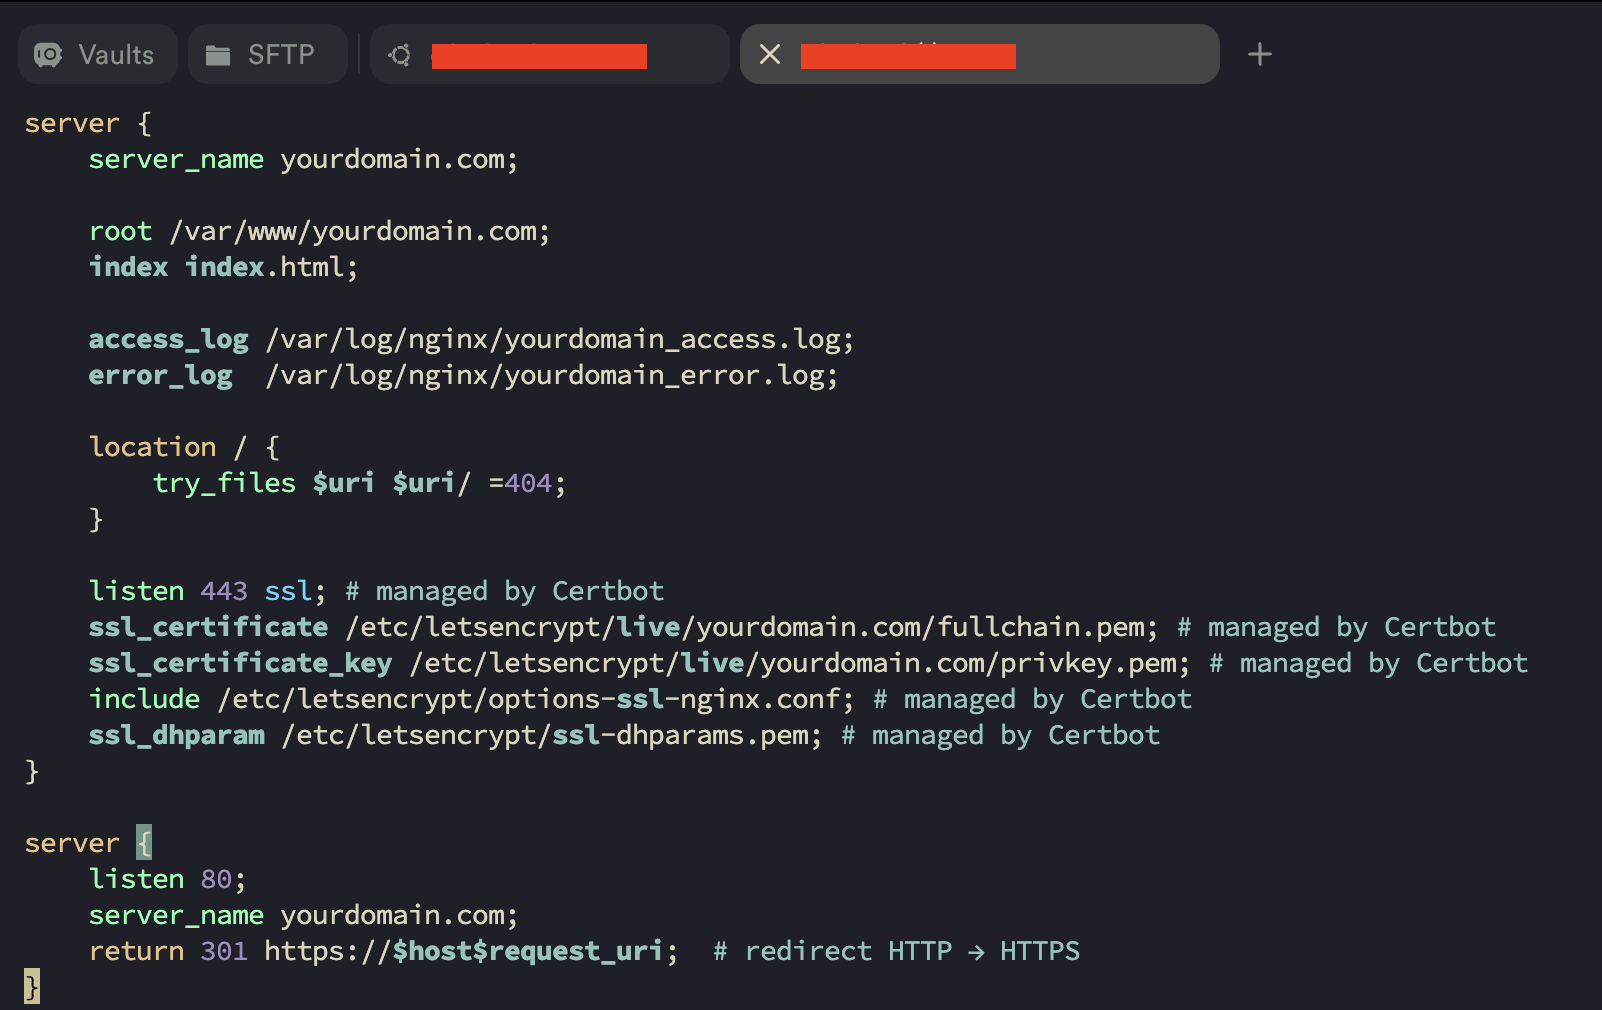
sudo vim /etc/nginx/sites-available/yourdomain.com
Sample:
server {
server_name yourdomain.com;

root /var/www/yourdomain.com;
index index.html;

access_log /var/log/nginx/yourdomain_access.log;
error_log  /var/log/nginx/yourdomain_error.log;

location / {
    try_files $uri $uri/ =404;
}

listen 443 ssl; # managed by Certbot
ssl_certificate /etc/letsencrypt/live/yourdomain.com/fullchain.pem; # managed by Certbot
ssl_certificate_key /etc/letsencrypt/live/yourdomain.com/privkey.pem; # managed by Certbot
include /etc/letsencrypt/options-ssl-nginx.conf; # managed by Certbot
ssl_dhparam /etc/letsencrypt/ssl-dhparams.pem; # managed by Certbot
}
server {
listen 80;
server_name yourdomain.com;
return 301 https://$host$request_uri;  # redirect HTTP → HTTPS
}
Enable the site: Link config file to enable:
sudo ln -s /etc/nginx/sites-available/yourdomain.com.conf /etc/nginx/sites-enabled/
Check Status:
sudo nginx -t
Restart:
sudo systemctl reload nginx
5. Install Free SSL (Let’s Encrypt)
Run Certbot:
sudo apt install certbot python3-certbot-nginx -y
sudo certbot --nginx -d yourdomain.com -d www.yourdomain.com
Check auto-renew:
sudo systemctl status certbot.timer
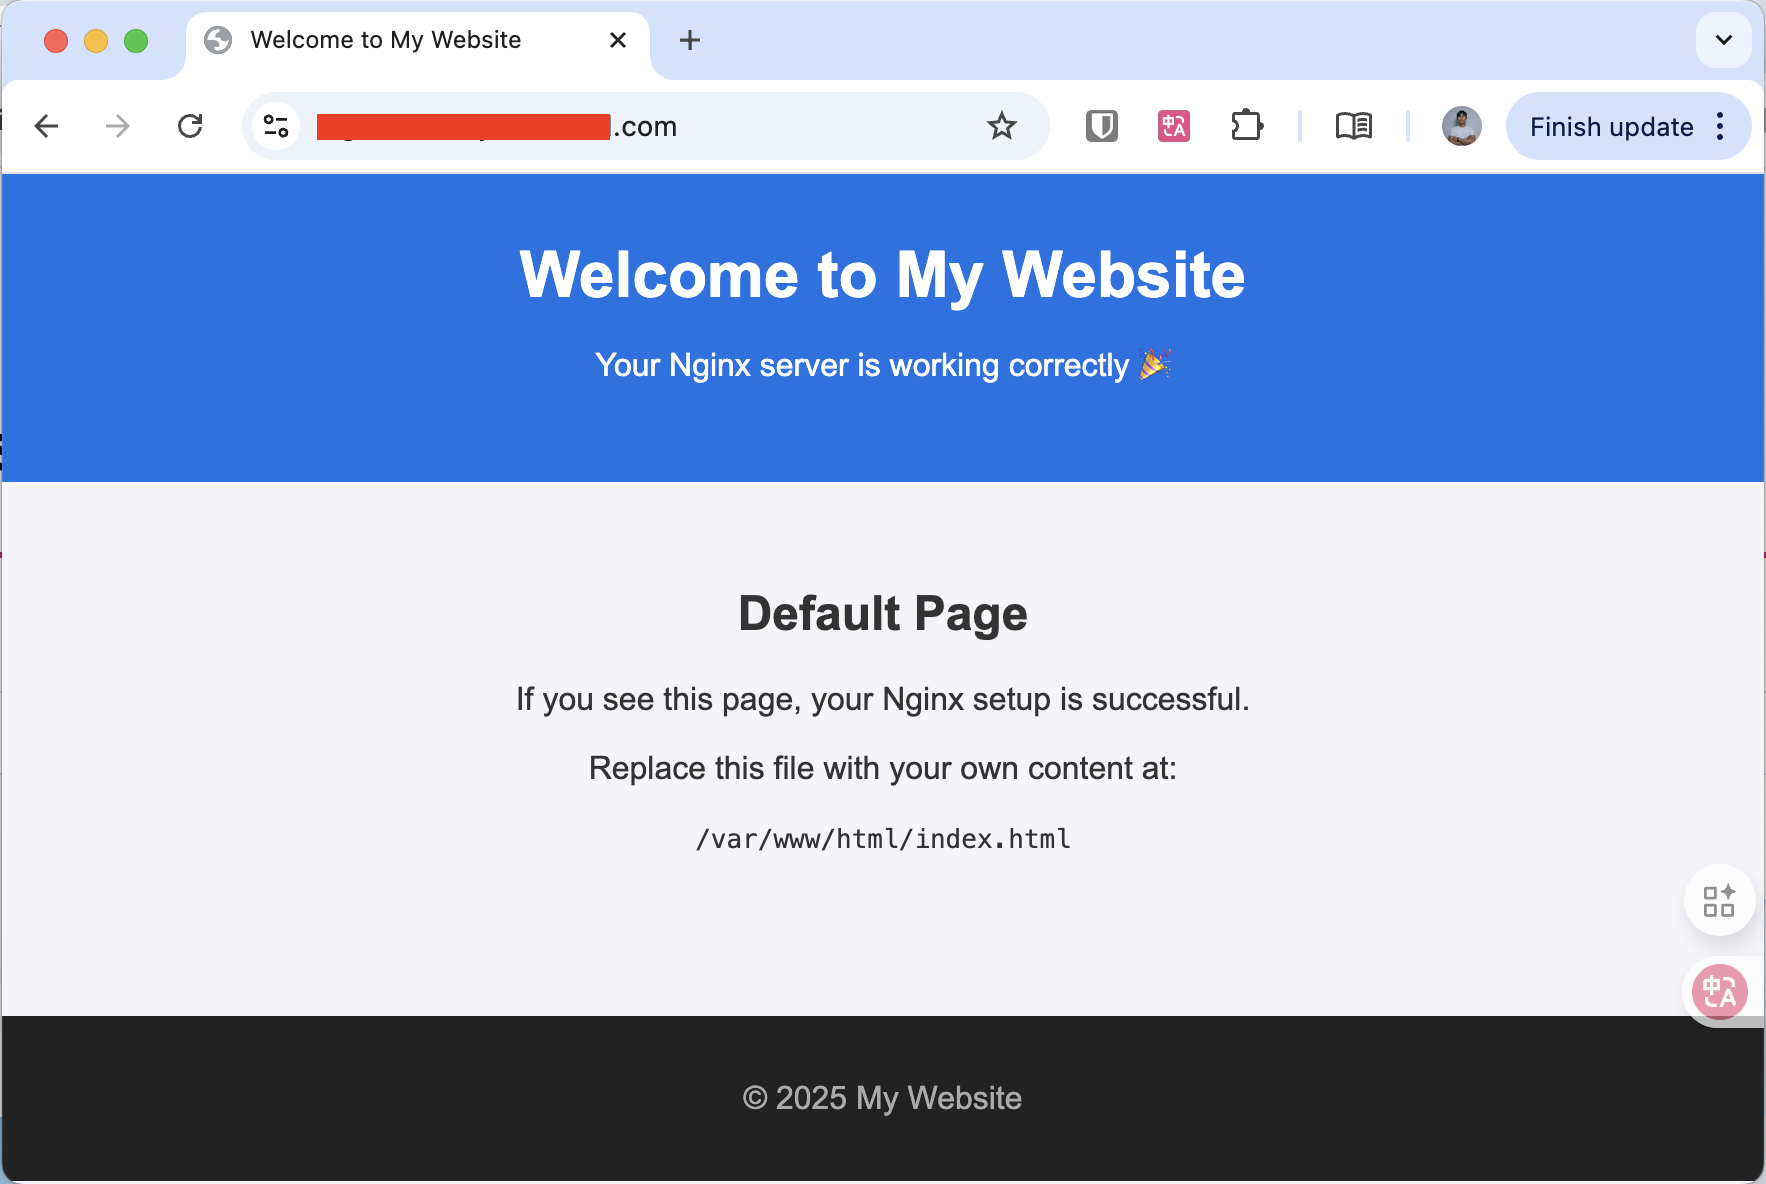
6. Test Your Website
Open http://yourdomain.com → should redirect to HTTPS.
Open https://yourdomain.com → should show your custom page.
Conclusion
That’s it! You have successfully connected your domain with Nginx and secured it with SSL. 🎉 Now you can host websites, APIs, or apps using your custom domain.
Note: If you find this article useful, please like and share it with your friends or community. Your support motivates me to create more helpful guides! 🚀
ខ្មែរស្រលាញ់ខ្មែរ ខ្មែរជួយខ្មែរ